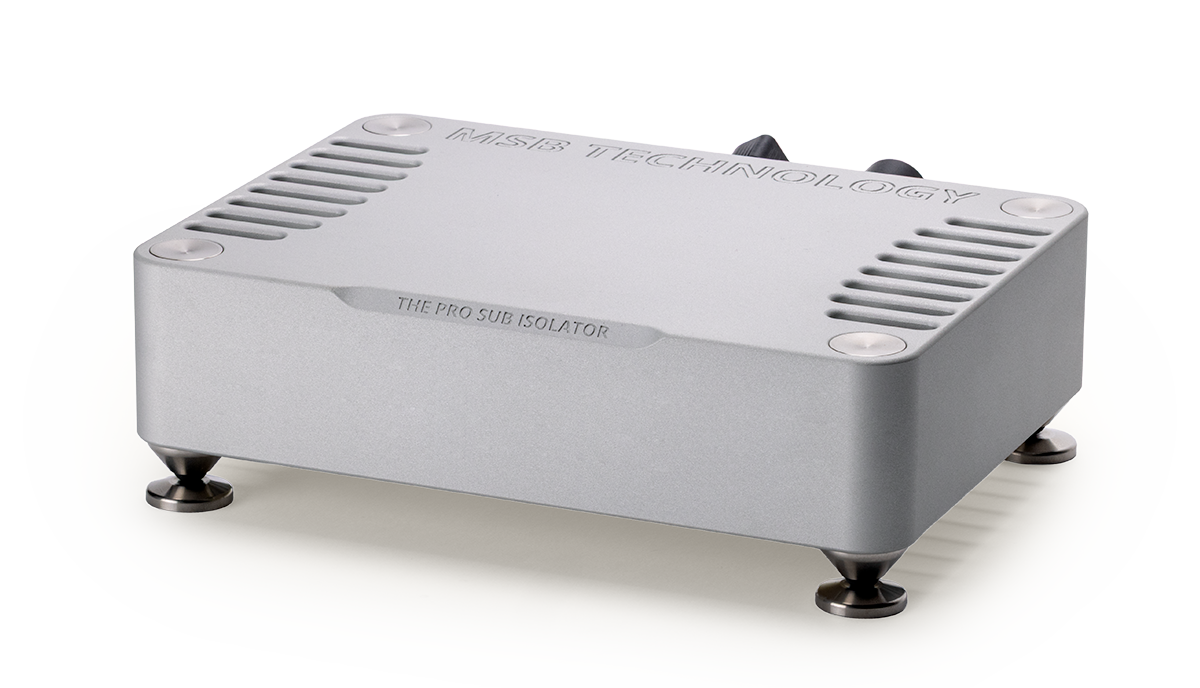
The Pro Sub Isolator
MSB is thrilled to finally provide an elite solution for the modern powered subwoofer - The Pro Sub Isolator. Typically, parasitic powered sub amplifiers degrade the delicate signal quality from the DAC or preamp by back feeding noise onto the signal lines. That additional low-level noise gets magnified by the main power amplifiers and adds a significant drop in performance to the system. The genius of the Pro Sub Isolator is to tap into the signal at the speaker level where its influence is negligible. Once the delicate preamp signal has been put through power amplifiers, it becomes rugged enough to ignore feedback generated by the lower-class amplification of the powered subwoofers. The new design works by lowering the already amplified signal down to the appropriate level using an audiophile grade transformer to isolate the incoming signal. The Pro Sub Isolator offers a refined solution with improved clarity and dynamics for those pushing their listening experience to a whole new dimension.
Flexible Configurations
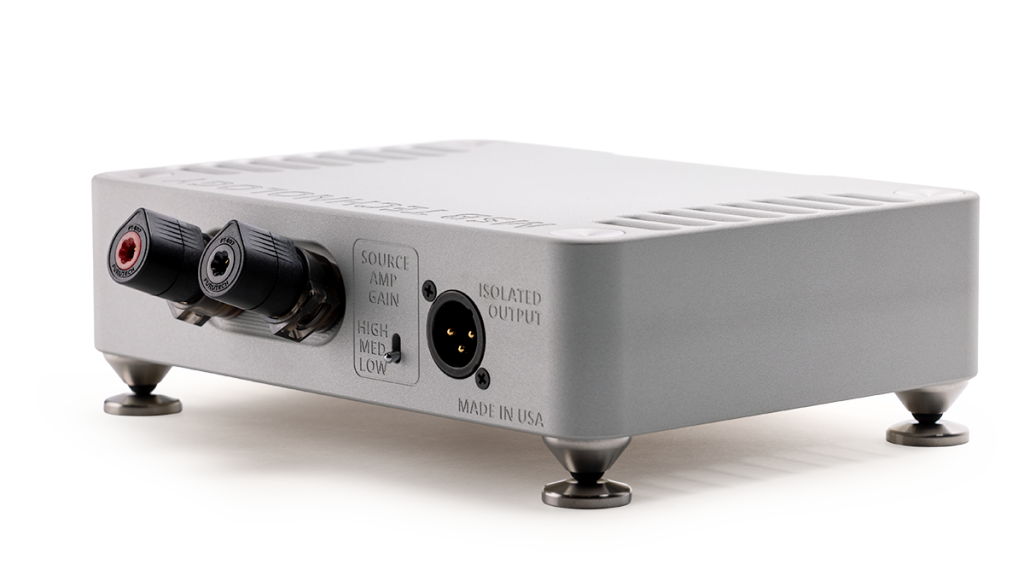
The Pro Sub Isolator input features a set of speaker binding posts which can be connected via banana plugs or spades directly to your speaker or power amplifier output. We recommend using the alternate style connectors of your current system. Please do not stack spade connections under a single binding post. The Pro Sub Isolator uses very little power from the speaker level signal, so light cabling can be used in lieu of high power speaker interconnects. Audiophile cables are often bulky, so we designed the input lugs to feature indexable rotations to adjust the angle at which the spades can attach to the unit. Please reach out to your local tech or to MSB directly to have yours configured.
The Pro Sub Isolator Introduction and Setup Video
System Setup
If you are connecting the Pro Sub Isolator to any amplifier that is consistently driving more than 500 watts per channel, it is important that the Pro Sub Isolator is placed somewhere with ventilation. The unit may get hot when handling this high wattage and should not be in an enclosed space.

Step 1:
Power down your power amplifier and subwoofers before any work begins. Connect the additional speaker cables first to the Pro Sub Isolator and then to the power amplifier or speaker binding posts. On our MSB mono amplifiers, there is an additional set of binding posts that are perfect for making this connection. Otherwise, it is best to use the alternate style of connector to the type used by your speakers. For example, if your speakers are attached to your amplifier using spade connectors, then it is best to use banana style connectors to attach a second set of cables. Do not stack two spade connections under one binding post.
Step 2:
Set the source amp gain on the back of the Pro Sub Isolator in accordance with the voltage gain of your amplifier. On MSB 500 Series amplifiers, the gain is adjustable and directly corresponds to the setting on the Pro Sub Isolator. Simply set the sub isolator switch in the same position that the amplifier is set to. If the gain on your 500 series amplifier is set to high, set the source amp gain on the pro sub isolator to high. For the 200 Series MSB amplifiers with an output gain of 23.8 dB, set the source amp gain on the Pro Sub Isolator to the med position. For all other amps, check for the voltage or output gain of your amp and set it to the appropriate gain setting as determined by the numbers below. If you set the source amp gain switch too low it is possible that the powered sub will have clipping and negatively impact performance.
Low is for any amps with less than 20 DB of gain.
Med is for any amps with between 20 and 26 db of gain.
High is for any amps with more than 26 db of gain.
Step 3:
Connect the isolated XLR output of the Pro Sub Isolator to the input of your powered subwoofer. Make listening adjustments with the powered subwoofer as necessary to match the desired performance. If necessary, the Low, Med, and High switch positions on the Pro Sub Isolator can be used to tune the volume. Going to the lower position will increase volume and the higher position will reduce volume.
Chassis Dimensions and Foot Layout
Sub Isolator Dimensions: 8.2in (W) x 5.9in (D) x 2.44in (H)